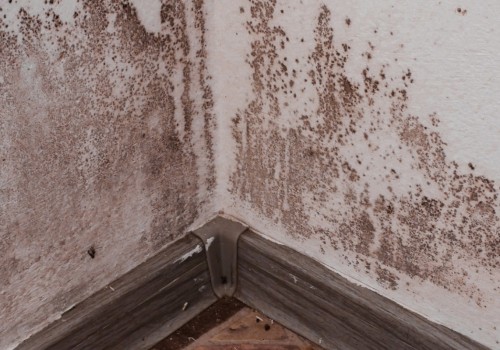
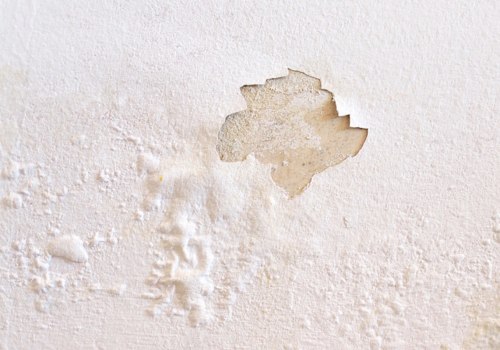
Water damage can be a major problem for homeowners, leading to costly repairs and potential health risks. Fortunately, there are steps you can take to repair water damage in walls and ceilings. In this article, we'll provide a step-by-step guide on how to fix water damage in walls and ceilings. The first step is to identify the source of the water.
If the damage is minimal, you may be able to remove small areas of damage and then apply a patch with putty compounds. If the damage is extensive, or if you're not comfortable with the repair process, it's best to contact a professional. Once you've identified the source of the water, you can begin the repair process. Start by thoroughly cleaning the area damaged by water.
Use a sharp utility knife to cut along the line of damage. Then, remove the trim and drywall, as well as any wet insulation. If you find that the insulation is damp even above the line you have cut, you need to remove more drywall. Next, apply the first coat of joint compound or “mud”.
The secret behind the mud is to cover the joint and use it to mix in the repair with the rest of the wall. Spread the mud at a distance of 4 to 6 inches from the edge of the repair. Allow this layer to dry completely for 12 to 24 hours and then sand down any ridges. Be sure to wear a dust mask when sanding. If you're still unsure about how to fix a wall with water damage, YouTube videos can be a great resource for repairing water damaged drywall, along with many other DIY projects.
For many people, seeing someone perform each step is very helpful in understanding how to do it correctly. Finally, if you're dealing with foundation damage or other problems that cause continuous leakage, it's important to locate and repair the cause of the leak. Otherwise, you'll be on a perpetual cycle of damage and repairs. Repairing water damage may seem like a daunting task, but with the right resources and time, some homeowners can tackle it on their own. If you're still unsure about how to proceed, contact Porter's today for help.

